Playing with time
Today we are going to see how to use the Time node in order to have an animated artwork.
This is how we will progress:
- Starting from an artwork
- How to use the
Timenode - Export the artwork as a video
Let’s get started!
Starting from an artwork
We will use the artwork from the previous tutorial.
You probably noticed that when you change a parameter it has a direct impact on the image in the view panel. With a slider for example, we can see the image changing as we drag the value.
So why not create an animation for this parameter?
This is where the Time node comes into play!
How to use the Time node
You can use it to animate a property of a node.
In our case we will play with the Mirror Repeat in Circle node that we added.
Let’s link a Time node to its Period parameter.
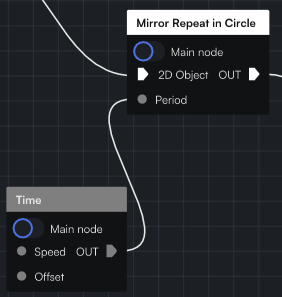
In the timeline, you can press play to start the animation. The value of the parameter linked to the Time node will increase over time.

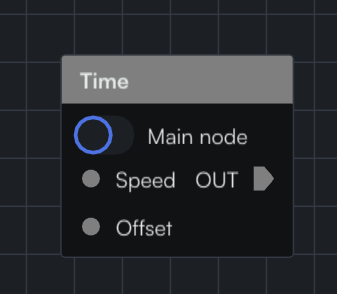
Within the time node, you have two parameters.
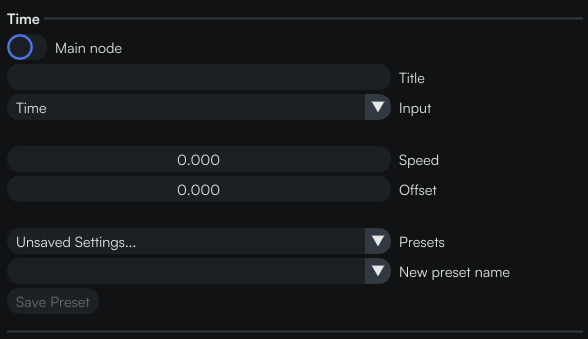
Speed: You can control the speed of the animation.
Offset: You can select an offset, to make sure a time of 0 corresponds to the moment you want in the animation.
We will set both the Speed and the Offset to 1. We use an Offset of 1 because we want our smallest period to be 1, not 0. Let’s see what this does if we press Play now.
If you want a back and forth movement, you can apply the Sine Wave node to the Time for example.
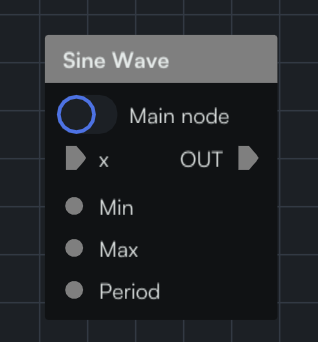
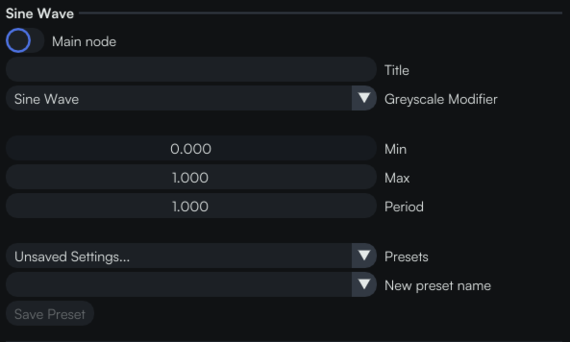
This node has three parameters:
Min and Max control how small and big the value will get.
Period is the time it takes to complete a full cycle (in seconds).
A cycle starts at the Min value, goes all the way up to the Max value, and then back to the Min value.
Put this node between the Time and Mirror Repeat in Circle nodes. We can set the Min to 1, the Max to 4 and the Period to 5.
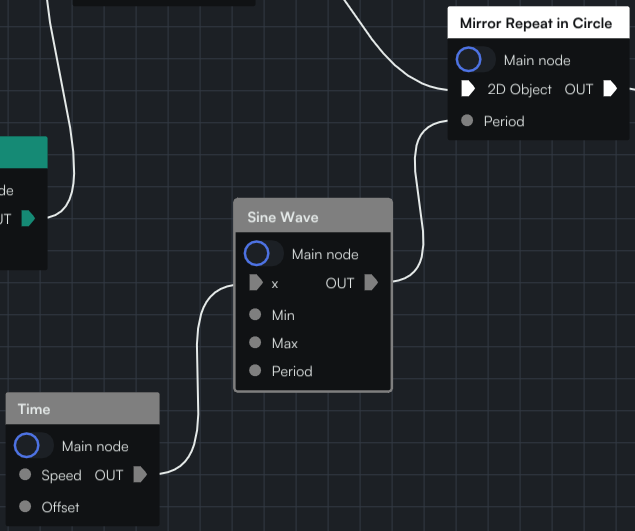
We have this amazing result!
You can input your own expression for a function using the Math Expression node.
You can also use Greyscale nodes as masks to change a property over space instead of time.
Export the artwork as a video
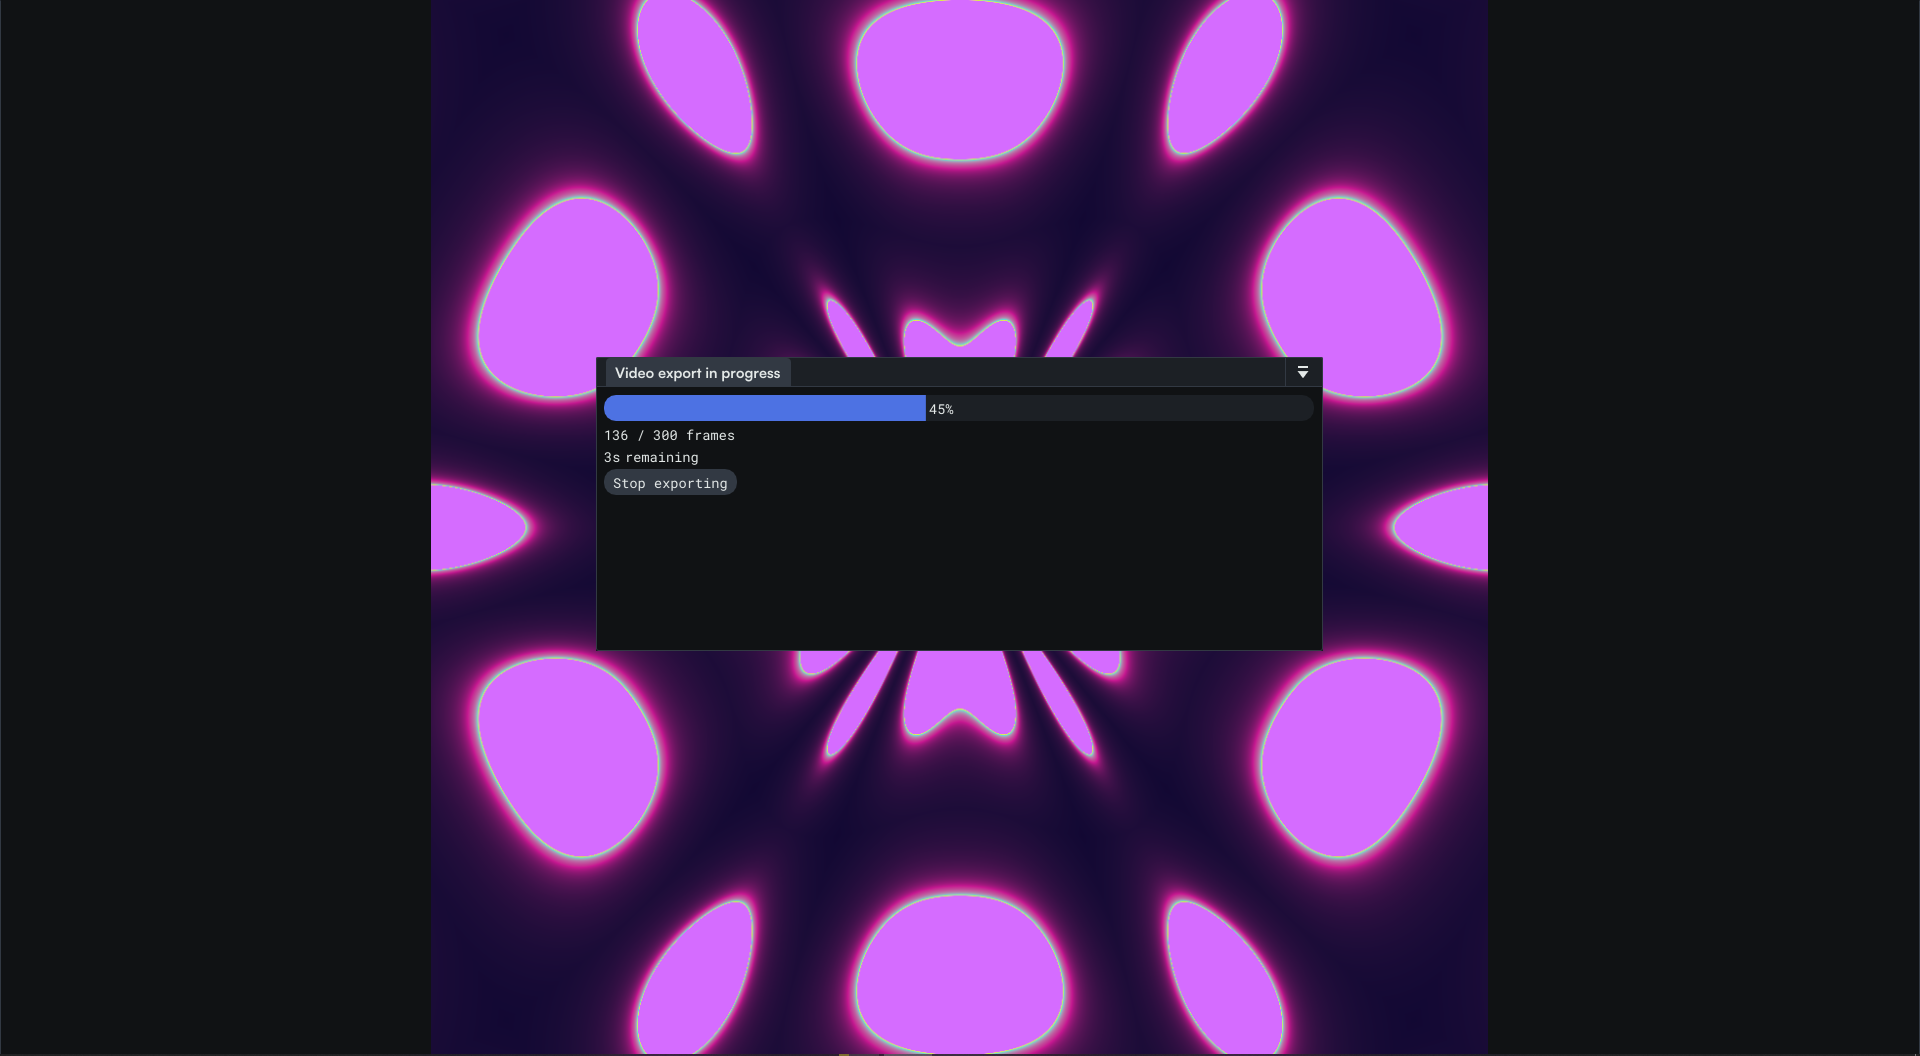
When you are happy with the animation, you can go over to the Export section. In the dropdown menu, click on the Video option.

As for the image in the previous tutorial you can choose the resolution and the aspect ratio as well as the path where you want to save your frames. You can change the framerate and the length of the animation, either in seconds or in frames.
Now that you have all the frames, you can create your own sequence using the software of your choice (Premiere, After Effect, Shutter Encoder, …) and export it as a video!
We will take the example of Shutter Encoder since it is free and easy to use!
Once you have it downloaded, open it and proceed as follows:
- Drag and drop all your images in the appropriated area
- Under the
Choose functionmenu, choose an Output codec (H.264 in our example)
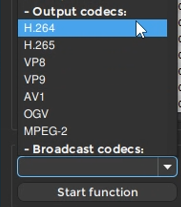
- Ensure that the image sequence is set at the correct framerate under the
Image sequencesection. In our case we selected 30 fps because this is what we used when exporting in Coollab.
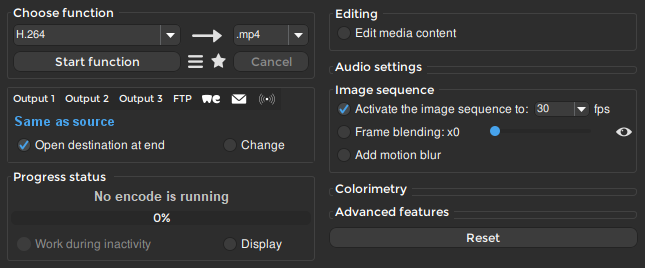
You can change the destination at your convenience, we will stick with the destination from the sources files.
- Now click on
Start function, wait for the export to finish and you will obtain the video!
End of the tutorial
Here are some others animated examples!

This the end of this tutorial. It is now your turn to experiment with the Time node to animate your artworks.
Feel free to modify the example we have done together, play with different parameters, add multiple Time nodes, and admire the result! 😃
See you in another tutorial of the Coollab discovery series! 👋